Air dry clay is an affordable and versatile material that allows you to create beautiful art without needing a kiln or oven. It is soft, easy to shape, and hardens naturally when left to dry in the air. Whether you are a beginner or an experienced crafter, air dry clay offers endless possibilities for creative projects. From simple decorations to functional items, it is perfect for making gifts, home decor, or personal keepsakes.
Working with air dry clay is enjoyable because it requires minimal preparation and tools. You can use it for small projects, like charms or ornaments, or larger pieces like bowls and wall hangings. The clay can be painted, decorated, or left in its natural color. This blog post will guide you through 10 easy and simple air dry clay art ideas. Each project will include the materials needed, preparation steps, and tips for finishing. By the end of this post, you will have plenty of inspiration to start creating your own unique clay art.
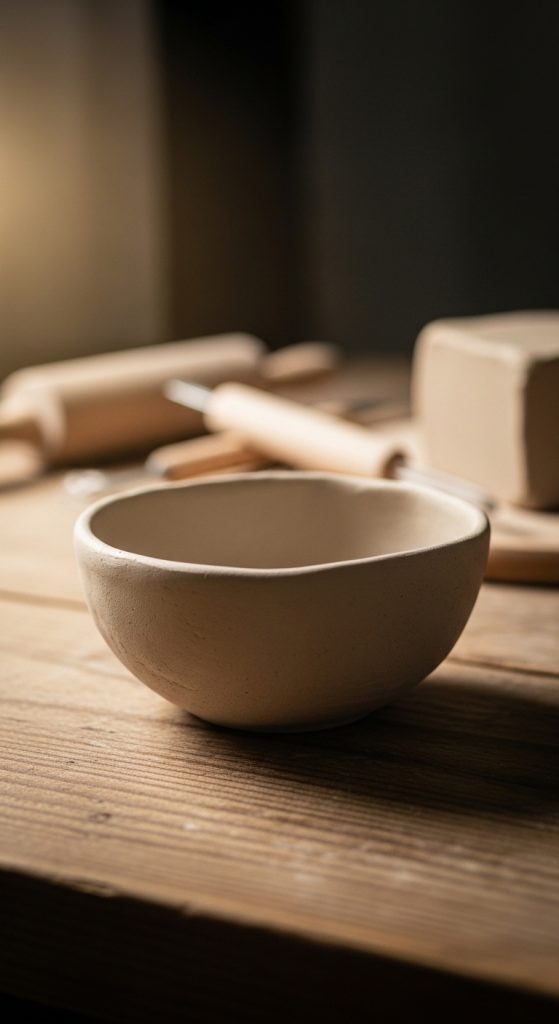
1. Air Dry Clay Bowls
Making small bowls with air dry clay is simple and functional. You can use them for jewelry, keys, or small decor items.
Materials Needed: Air dry clay, rolling pin, bowl for shaping, sandpaper, acrylic paint (optional), paintbrush.
Preparation and Steps:
- Knead the clay until soft and pliable.
- Roll it into a flat sheet about 0.5 cm thick.
- Place the clay over an inverted bowl to create a mold shape. Press gently to fit the clay over the bowl.
- Trim excess clay from the edges.
- Let it dry completely for 24-48 hours depending on thickness.
- Once dry, lightly sand the edges to smooth any rough spots.
- Paint or decorate if desired.
Tips: Use non-stick paper under the clay while rolling to avoid sticking. You can also add texture with stamps or household items before drying.