Color paper is one of the most versatile and creative materials for both art and practical projects. From school assignments to home décor, crafting with color paper allows you to explore endless possibilities. Whether you are an experienced artist or a beginner, color paper can be used to create vibrant designs that add life and personality to any project. The beauty of working with color paper lies in its accessibility. It is inexpensive, easy to cut, fold, and glue, and comes in a variety of shades and textures. By combining different colors and patterns, you can develop designs that are visually appealing and unique. In this blog post, we will explore ten creative color paper design ideas that will inspire you to try new techniques. Each idea includes information about the materials needed, step-by-step instructions, and tips to make your projects more effective. These ideas are suitable for children, adults, and anyone who enjoys hands-on crafting. By following these suggestions, you can turn simple sheets of color paper into beautiful works of art and functional decorations.
1. Paper Quilling Art
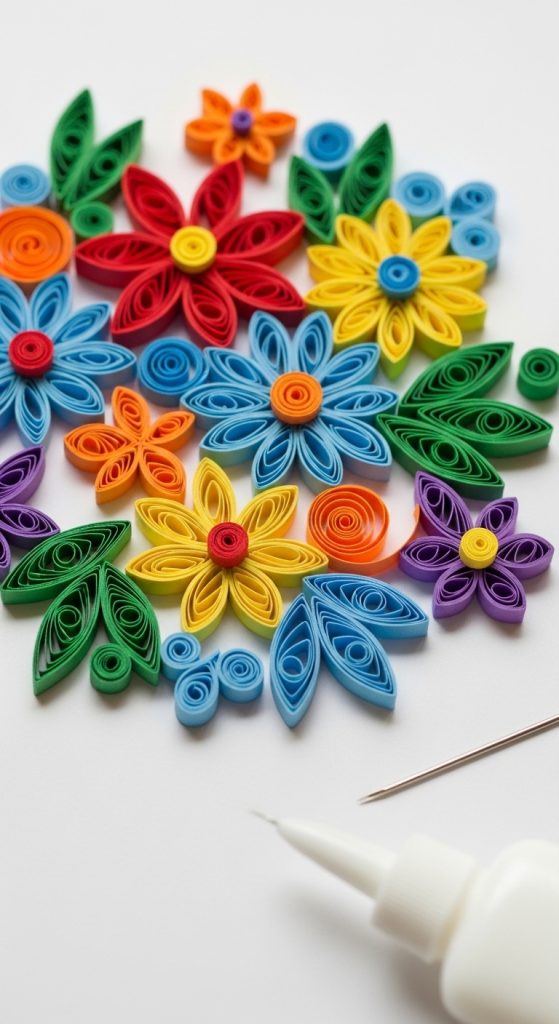
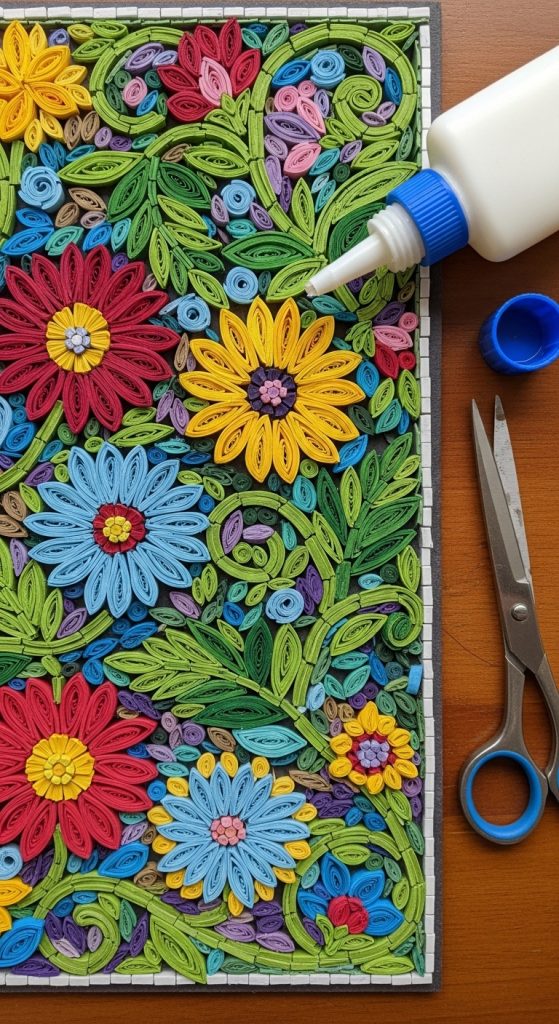
Paper quilling, also known as paper filigree, is an art form that uses thin strips of color paper rolled, shaped, and glued together to create decorative designs. You can make flowers, animals, or abstract patterns using this technique. To start, you will need color paper strips, a quilling tool or toothpick, and glue. Begin by rolling the paper strips into tight coils, then shape them into circles, teardrops, or spirals. Arrange the shapes on a plain sheet to form your design and glue them carefully. Quilling can be used to decorate cards, picture frames, or even wall art. The process is calming and requires patience, which makes it a relaxing craft activity. Beginners should start with simple shapes and gradually move to more complex patterns. Color combinations play a major role in quilling, so choose contrasting or complementary colors to enhance your design. By experimenting with sizes and textures, you can create visually appealing pieces that look intricate but are easy to make with simple materials.
2. Origami Paper Creations
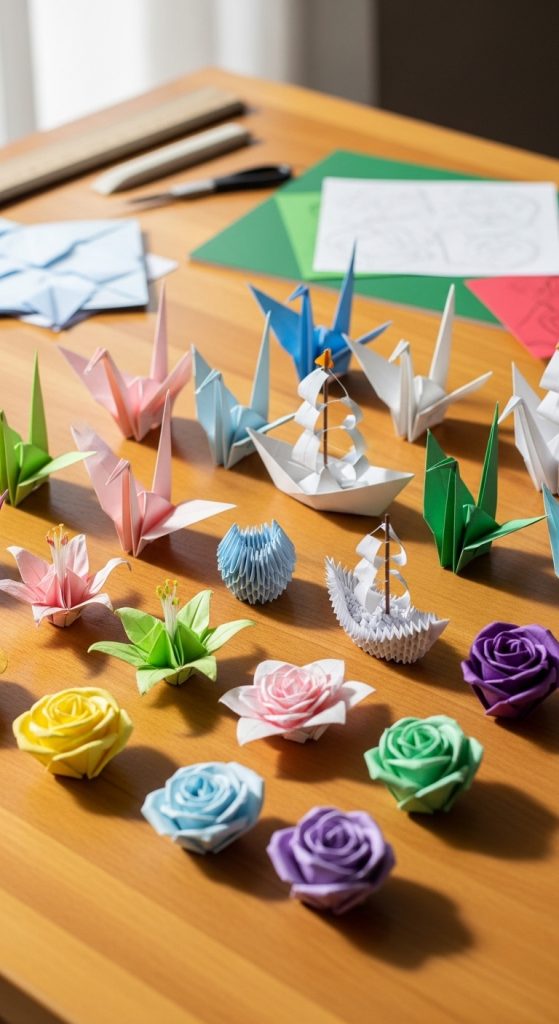
Origami is the Japanese art of folding paper into intricate shapes without using scissors or glue. Using colorful paper enhances the visual appeal of your origami projects. To get started, you need square sheets of color paper. Begin with simple designs like cranes, boats, or flowers and gradually move to complex figures such as dragons or boxes. Folding accurately along the creases is essential for precise results. Origami teaches patience, concentration, and spatial understanding while providing endless creative possibilities. You can use origami for home décor, gift decorations, or educational purposes. Using two-toned or patterned paper can add a unique dimension to your models. For larger projects, consider combining multiple origami pieces to form a decorative arrangement or wall art. Mastering origami opens the door to numerous creative designs, all from simple sheets of color paper.
3. Handmade Greeting Cards
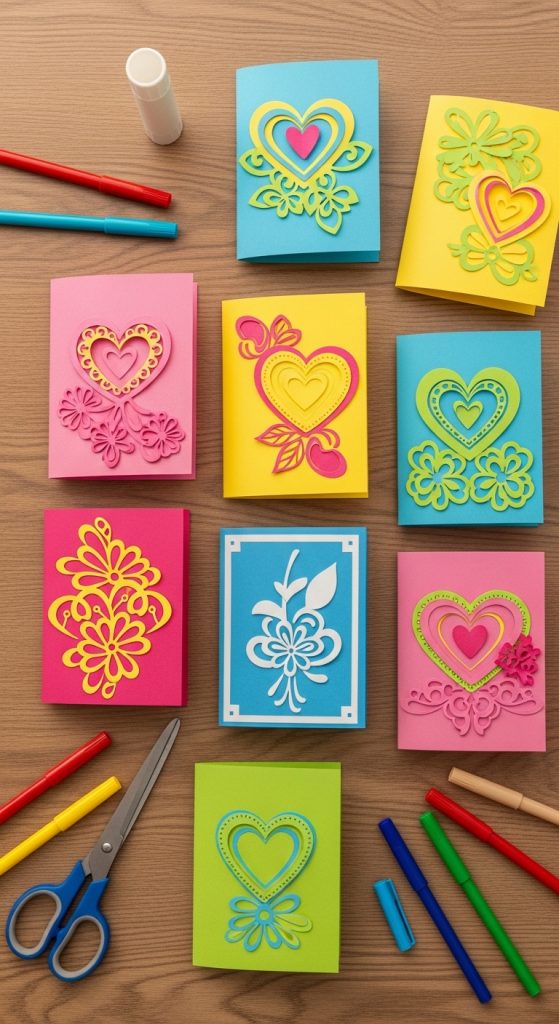
Creating handmade greeting cards with color paper is a fun and personal way to convey messages. You will need sheets of colored paper, scissors, glue, markers, and embellishments like stickers or ribbons. Start by folding a color paper sheet into a card shape, then layer other color paper pieces to create designs, patterns, or cut-out shapes. You can add elements such as flowers, hearts, or geometric patterns to make the card visually appealing. Personal messages written in creative fonts add a special touch. Layering papers of different textures and colors can make the card stand out. This project is perfect for birthdays, holidays, or special occasions. It allows you to experiment with different styles, such as minimalistic, vibrant, or 3D designs. Handmade greeting cards made from color paper are meaningful keepsakes that friends and family will cherish.
4. Color Paper Wall Art
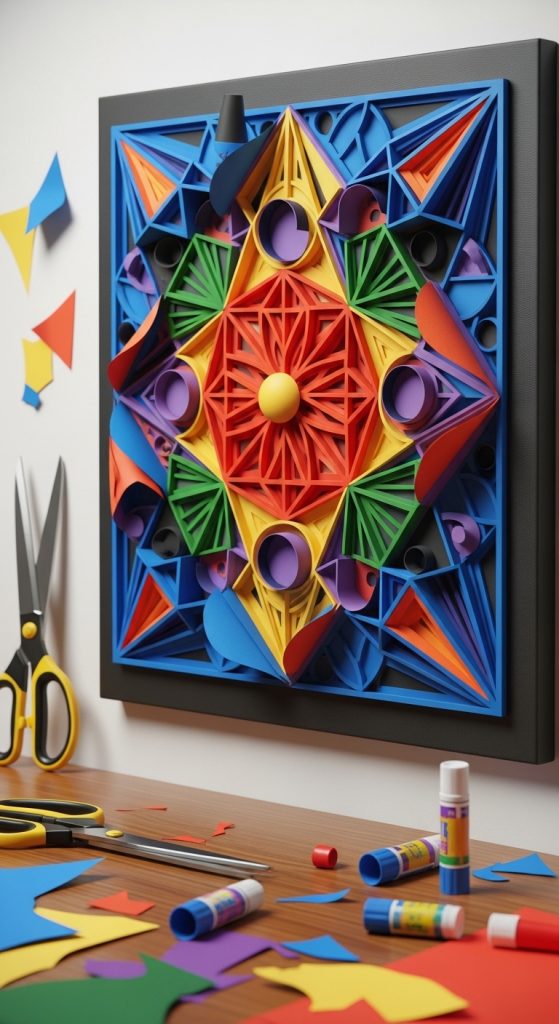
Creating wall art from color paper is an inexpensive way to decorate your home. You will need colored sheets, scissors, glue, and a canvas or sturdy cardboard as a base. Start by sketching your design lightly on the base, then cut color paper into shapes like circles, triangles, or abstract patterns. Arrange the cutouts according to your sketch and glue them carefully. You can create geometric designs, landscapes, floral patterns, or modern abstract art. Experiment with layering paper for a 3D effect. Using complementary colors can make the artwork more visually striking. This type of project encourages creativity and allows you to make customized art suited to your personal style. It can be a great activity for both adults and children, as it combines fun with skill development. Once finished, frame your wall art or mount it directly on a wall to enhance your space.
5. Paper Flowers
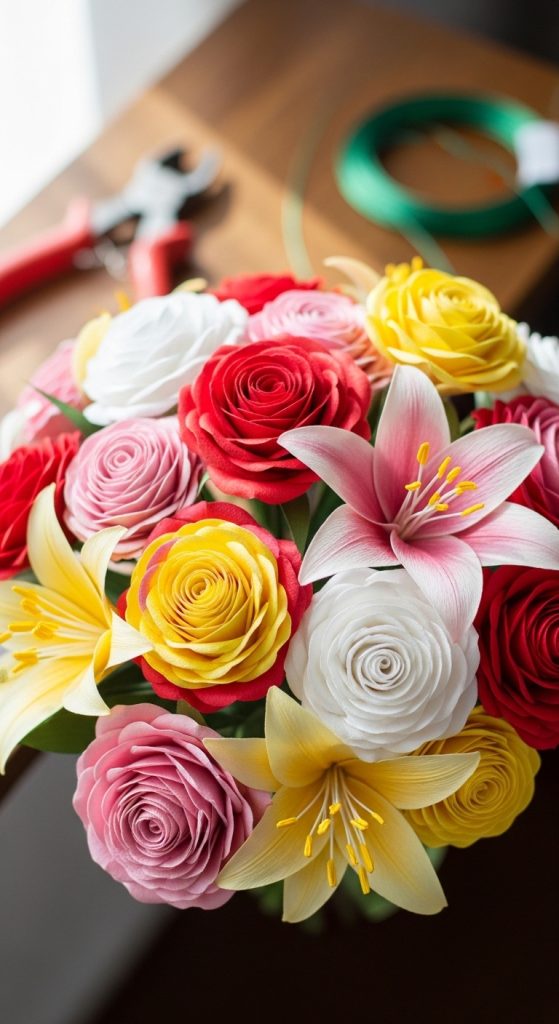
Paper flowers are a beautiful way to use color paper for decoration. You will need colored paper, scissors, glue, floral wire, and optionally, markers for detailing. Start by cutting petals in the desired shapes and sizes. Layer the petals and glue them around a central base, such as a circle of paper or a floral wire tip. You can create roses, lilies, daisies, or any flower you like. Color selection is crucial; combining multiple shades can create realistic effects. Paper flowers are perfect for decorating rooms, making bouquets, or enhancing gift packaging. They last longer than real flowers and are customizable in size, color, and style. Beginners can start with simple flower shapes and progress to more complex ones with curling petals or multiple layers. With patience and creativity, your paper flowers can rival the beauty of real ones.
6. Pop-Up Cards
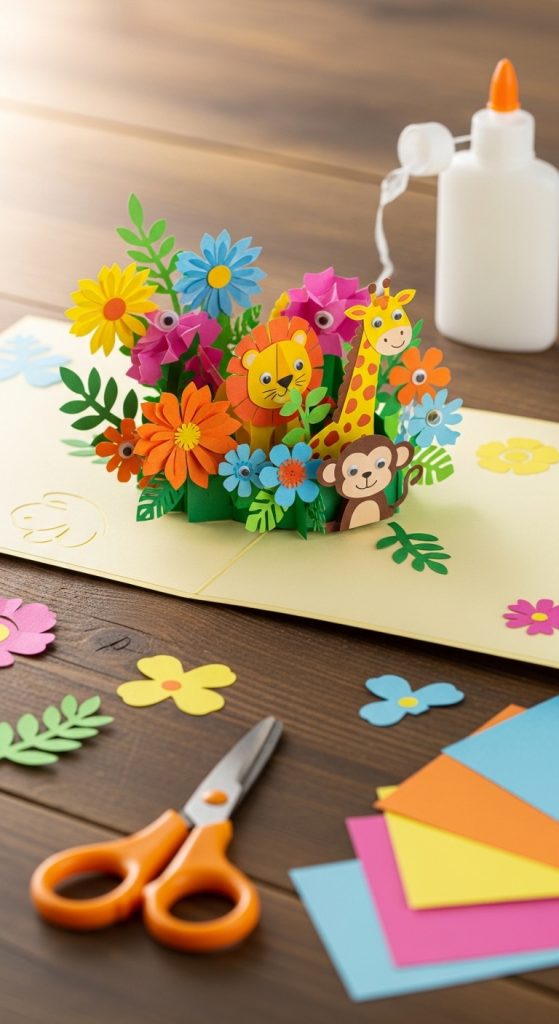
Pop-up cards are an interactive way to use color paper creatively. You will need colored sheets, scissors, glue, and a plain card base. Start by cutting out shapes that will form the pop-up element, such as animals, flowers, or geometric designs. Fold and glue the shapes onto the card base so that they “pop” when the card opens. You can layer different elements to create a scene with depth and dimension. Color combinations are important to highlight the pop-up feature. Pop-up cards are ideal for celebrations, invitations, or gifts, offering a fun and surprising element to recipients. They require precise folding and careful placement of paper, making them an enjoyable challenge for crafters. This technique can also be used to create interactive art books or educational tools.
7. Paper Mosaics
Paper mosaics involve cutting colored sheets into small pieces and arranging them to form a larger image, similar to a tile mosaic. You will need colored paper, scissors, glue, and a base to attach the pieces. Start by sketching your design on the base, then cut paper into small squares, triangles, or irregular shapes. Glue the pieces carefully according to your sketch. This technique works well for abstract patterns, portraits, or landscapes. Experimenting with color gradation and contrast can create depth and dimension. Paper mosaics are excellent for developing patience and attention to detail. They are suitable for both beginners and advanced crafters, as complexity can be adjusted. Mosaics made from color paper are cost-effective, lightweight, and can be framed for display. This creative process transforms simple sheets into stunning, intricate artwork.
8. Paper Garland Decorations
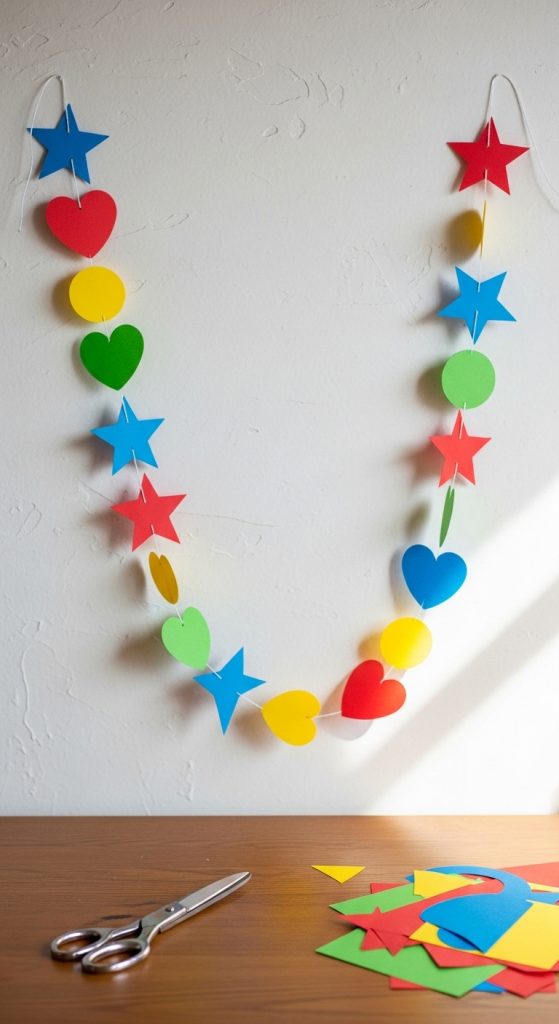
Paper garlands are simple yet effective decorative elements for parties or home décor. You will need colored paper, scissors, string, and glue or tape. Start by cutting shapes such as circles, hearts, stars, or leaves from color paper. Punch holes or fold shapes to attach them to a string. Arrange the pieces evenly or randomly along the string for a visually appealing effect. You can combine multiple colors and shapes to create vibrant designs. Paper garlands are easy to make, customizable in length and theme, and lightweight enough to hang indoors or outdoors. This project is ideal for beginners and children, as it encourages creativity and hands-on participation. Paper garlands can also be used seasonally, such as for holidays or birthdays, providing an eco-friendly and reusable decoration option.
9. 3D Paper Animals
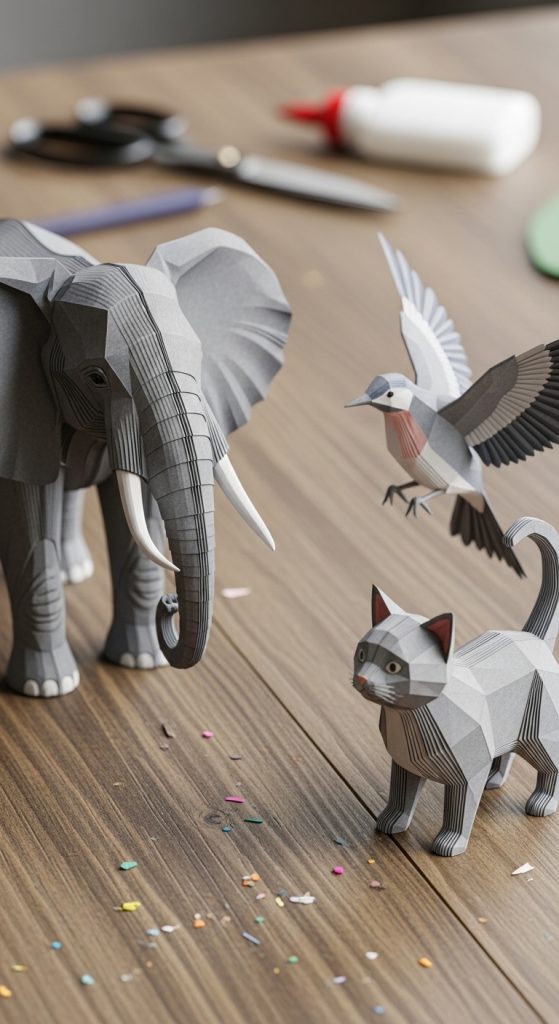
Creating 3D paper animals adds a dynamic element to color paper crafts. You will need colored paper, scissors, glue, and optionally, markers for detailing. Begin by cutting paper into templates for different parts of the animal, such as the body, head, legs, and tail. Fold and assemble the pieces carefully to give the animal a three-dimensional form. Popular choices include birds, fish, elephants, and cats. Layering and using contrasting colors can enhance the realism and visual appeal of the figure. 3D paper animals are suitable for decorations, educational models, or gifts. This craft requires attention to detail, making it a fun and engaging challenge. With practice, you can create complex animals with movable parts or textured features using simple materials.
10. Scrapbook Page Design
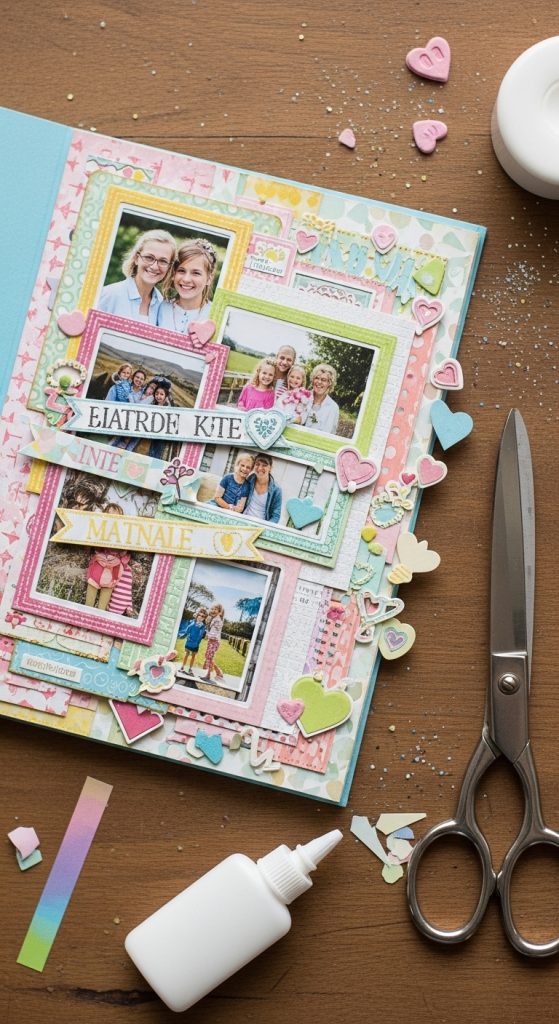
Color paper is essential for designing creative scrapbook pages. You will need colored sheets, scissors, glue, photos, stickers, and markers. Start by selecting a theme for your scrapbook page and cut color paper to form borders, frames, and decorative shapes. Arrange your photos on the page and add embellishments like stars, hearts, or banners. Layering paper adds depth and visual interest. Using different textures or patterns can make the page more engaging. Scrapbooking with color paper allows you to preserve memories creatively while expressing your personal style. It is ideal for special occasions, travel memories, or family events. This activity is therapeutic and encourages creativity, making each page unique and memorable.