Hairstyles with waves remain one of the most versatile and widely searched Pinterest ideas for modern beauty inspiration. Wavy hair creates a natural balance between polished structure and relaxed texture, making it suitable for casual looks, formal styling, and everyday wear. This style category includes soft beach waves, defined waves, layered wave cuts, and heatless wave techniques that can be adapted to different hair lengths and textures. The appeal of waves lies in their ability to enhance volume, movement, and dimension without requiring overly complex styling routines. Many people search for step by step tutorial inspiration to recreate salon-like results at home using simple tools and basic materials.
This article explores 10 practical hairstyle concepts built around waves, offering clear guidance on how each look is created and styled. Every idea focuses on realistic techniques that support beginner friendly execution while still delivering a modern design finish. Readers will learn how to build different wave patterns, combine waves with braids, buns, and layers, and adapt styles for everyday home decor inspired beauty routines that reflect personal expression. The content emphasizes creative ideas that are easy to follow, budget friendly, and suitable for daily styling or special occasions.
Why This Idea Is Trending or Useful
Hairstyles with waves are trending because they combine simplicity with visual appeal. On Pinterest, wave-based styles are widely shared due to their soft aesthetic and adaptability. Unlike rigid straight or tightly curled looks, waves offer a natural in-between texture that suits almost every face shape and hair type. This flexibility makes them a preferred choice for people seeking beginner friendly styling options that still look refined.
Another reason for popularity is accessibility. Wave styling does not always require advanced tools or salon-level skills. Many methods can be achieved using basic materials such as combs, pins, and heatless techniques. This makes it ideal for DIY beauty routines and creative projects at home. Waves also align with modern minimalist style trends, where effortless beauty and low maintenance routines are highly valued. As a result, wave hairstyles continue to appear in Pinterest ideas related to fashion, organization of personal styling routines, and everyday inspiration.
Materials and Preparation
Creating wave hairstyles requires minimal but essential materials depending on the chosen method. Common tools include a wide-tooth comb, hair clips, styling brushes, and optional heat tools such as curling wands or straighteners for defined wave patterns. Heatless methods may require soft bands, braiding ties, or fabric strips to shape the hair overnight. Lightweight styling products such as mousse or smoothing cream can help maintain structure and reduce frizz.
Preparation begins with clean, slightly damp or dry hair depending on the technique. Detangling is important to ensure smooth wave formation. Sectioning the hair into manageable parts helps create even patterns and prevents uneven styling. Planning also includes deciding the type of wave look desired, such as loose beach waves, structured waves, or blended layered waves. This preparation step ensures the process remains organized and supports consistent results. Proper planning is essential for achieving a polished yet natural finish suitable for home decor inspired aesthetic styling routines.
Idea 1: Soft Beach Waves for Everyday Elegance
How to Create
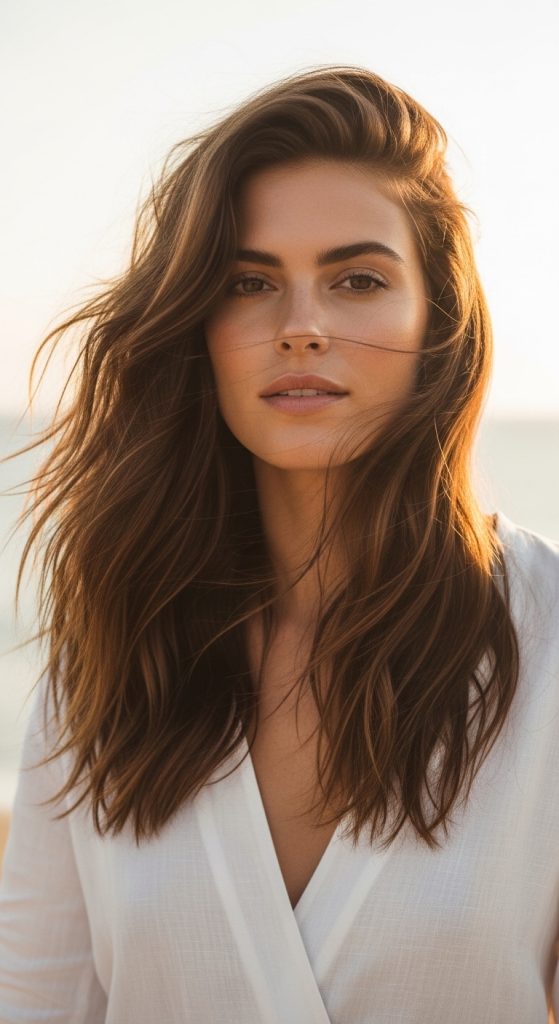
Soft beach waves are one of the most popular Pinterest ideas because they create a relaxed yet polished appearance suitable for daily wear. This hairstyle focuses on loose, flowing waves that mimic natural texture after a day at the beach. The style works well for medium to long hair and enhances volume without appearing overly styled. It fits modern design preferences that value effortless beauty and minimal structure. The appeal lies in its ability to transition easily between casual and semi-formal settings, making it highly versatile. Soft beach waves also complement layered cuts and add dimension to flat hair.
To create this look, start with slightly damp or dry hair and divide it into sections. Twist each section loosely and apply gentle heat or allow air drying for a heatless version. Once released, use fingers or a wide comb to separate the waves naturally. Lightweight styling products can be used to maintain shape without stiffness. The process is simple, beginner friendly, and requires minimal materials, making it ideal for DIY styling routines and everyday creative inspiration.
Idea 2: Defined Waves with Structured Flow
Step-by-Step Guide
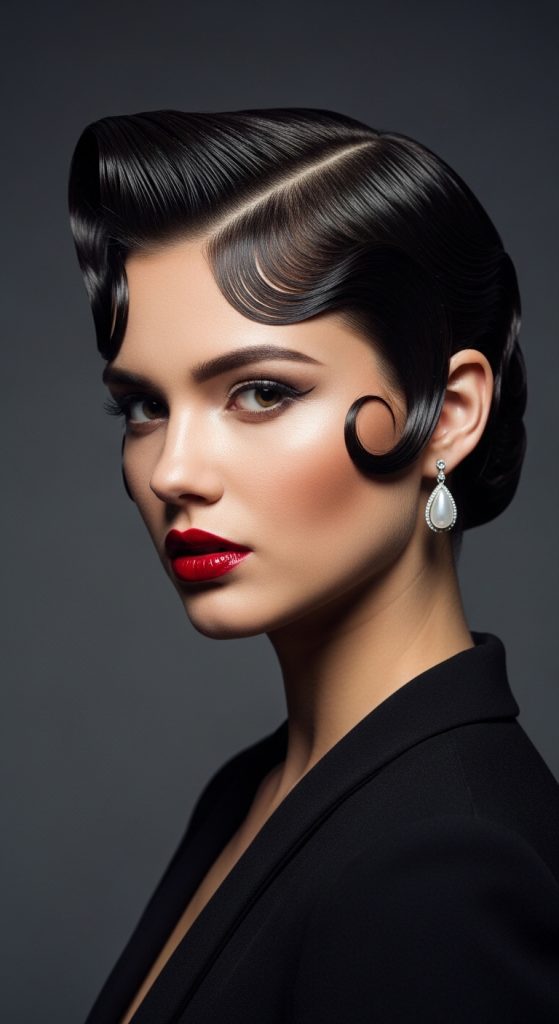
Defined waves offer a more polished and structured alternative to soft waves. This hairstyle focuses on creating consistent wave patterns that give the hair a refined and controlled appearance. It is commonly used for formal settings or occasions where a more elegant finish is required. The structured flow enhances symmetry and creates a sleek visual effect that aligns with modern minimalist style preferences. Unlike loose waves, this version emphasizes precision and uniformity, making it suitable for medium to long hair lengths.
To achieve defined waves, section the hair evenly and use a curling wand or straightener to create consistent bends along each strand. Each wave should follow the same direction for a uniform look. After styling, gently comb through the hair to soften harsh lines while maintaining structure. A light finishing spray can help preserve the shape throughout the day. This method requires slightly more attention than casual wave styling but remains accessible for beginners following a step by step tutorial approach.
Idea 3: Heatless Overnight Waves
How to Create
Heatless overnight waves are a practical solution for those seeking easy project styling methods without heat damage. This technique is highly popular in Pinterest ideas because it supports hair health while still delivering beautiful results. The waves form naturally as the hair sets overnight, creating a soft, effortless texture by morning. This method is suitable for all hair types and especially beneficial for individuals who prefer low maintenance routines and budget friendly styling options.
To create heatless waves, slightly dampen the hair and divide it into sections. Each section can be braided or twisted depending on the desired wave pattern. Secure the ends and leave the hair overnight. In the morning, gently release the braids and separate the waves using fingers. No heavy styling products are required, making this method ideal for beginner friendly routines. The result is a natural, voluminous wave pattern that aligns with modern aesthetic inspiration and DIY creative ideas.

Idea 4: Layered Waves for Volume and Movement
Execution Process
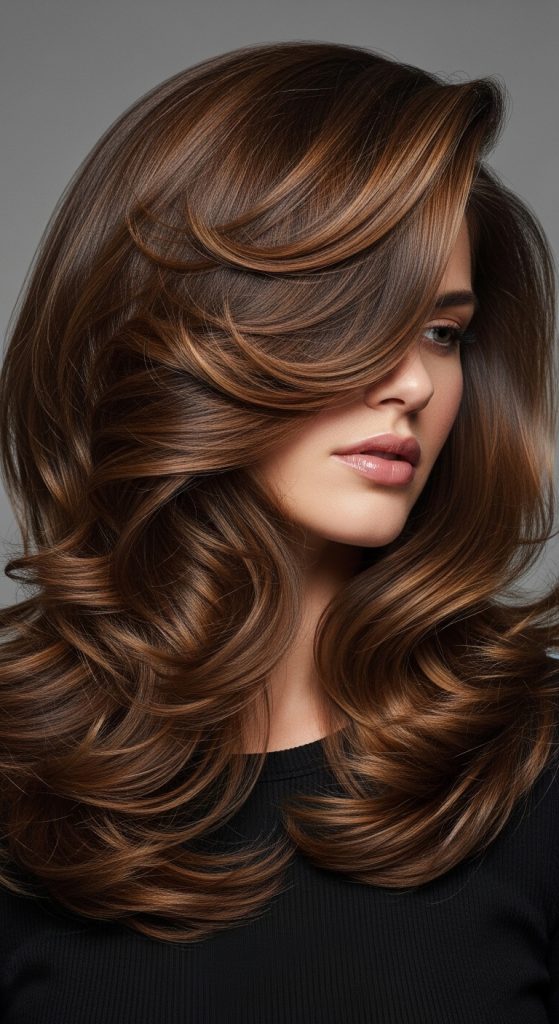
Layered waves enhance natural volume by combining haircut structure with wave styling techniques. This hairstyle is ideal for individuals with layered cuts who want to maximize movement and dimension. The waves follow the natural layers of the hair, creating a cascading effect that looks dynamic and full. This style is often featured in home decor inspired beauty boards because it reflects softness, flow, and natural balance.
To create layered waves, apply styling mousse to damp hair and section it according to the natural layers. Use a curling tool or heatless twisting method to shape each layer separately. Focus on alternating wave direction to increase volume and prevent uniform flatness. Once completed, gently separate strands for a fuller appearance. This approach requires minimal effort but delivers a professional finish suitable for everyday wear and special occasions.
Idea 5: Half-Up Waves for Casual Styling
Setup Method
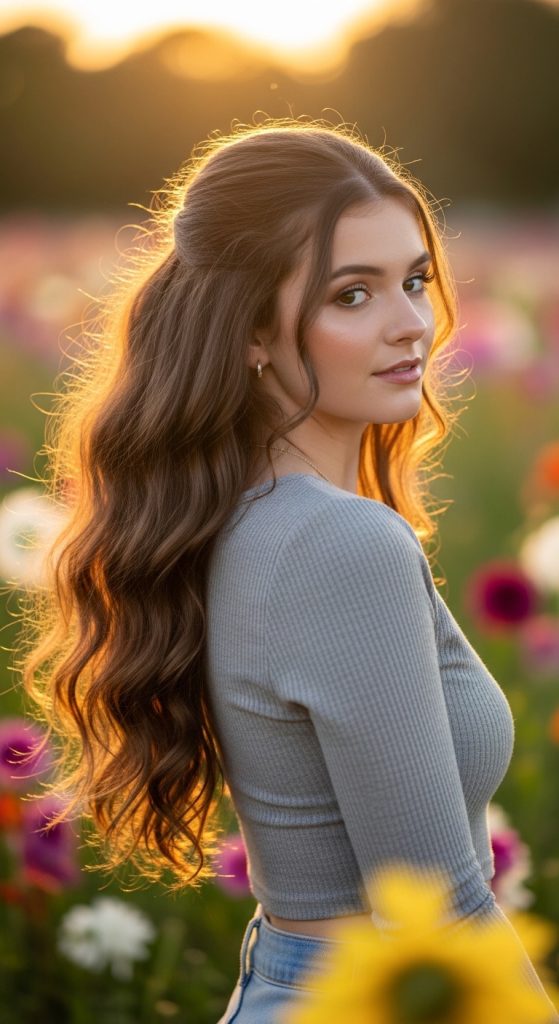
Half-up waves combine structured styling with relaxed flow, making them a popular Pinterest hairstyle idea. This look involves pulling the upper section of the hair away from the face while allowing the remaining waves to fall freely. It creates a balanced appearance that works well for both casual and semi-formal settings. The style is especially effective for medium-length hair and adds a youthful, soft aesthetic.
To create this look, first style the hair into loose or defined waves. Then separate the top section and secure it using a clip or tie. Adjust the crown area for volume and allow the lower waves to remain loose. This method requires minimal tools and is highly beginner friendly. It is often used in DIY styling routines because it offers quick transformation without complex steps, making it ideal for everyday creative inspiration.
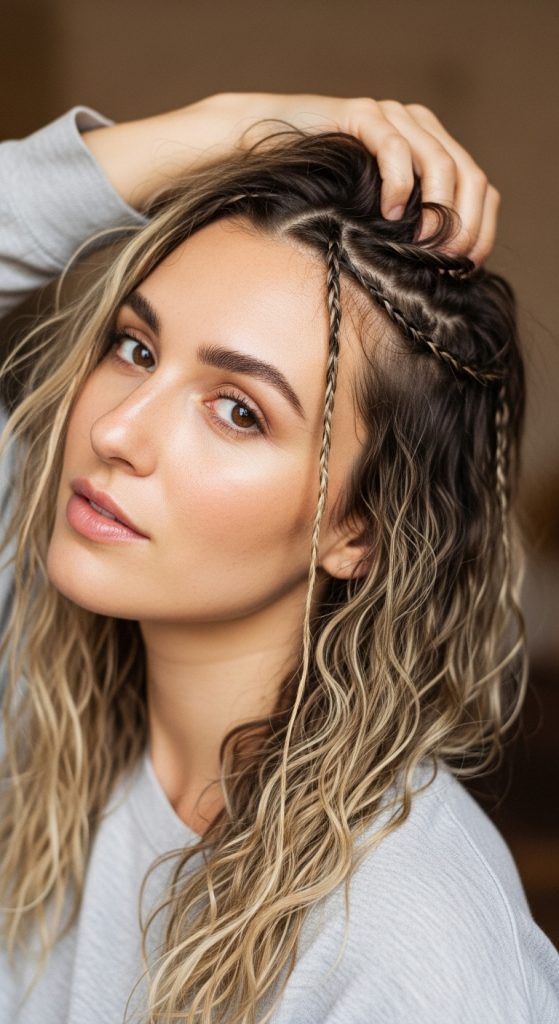
Idea 6: Braided Waves for Textured Definition
Step-by-Step Guide
Braided waves create a textured wave pattern formed through braiding techniques. This hairstyle is widely appreciated for its natural finish and easy execution. The braids determine the tightness of the waves, allowing customization based on personal preference. It is commonly used in budget friendly styling routines because it requires no heat tools and only basic materials.
To create braided waves, divide damp hair into sections and braid each part tightly for defined waves or loosely for softer results. Leave the braids for several hours or overnight. Once removed, gently separate the waves with fingers. This method enhances texture and works well for both short and long hair. It is a practical DIY approach that supports creative ideas and low maintenance beauty routines.
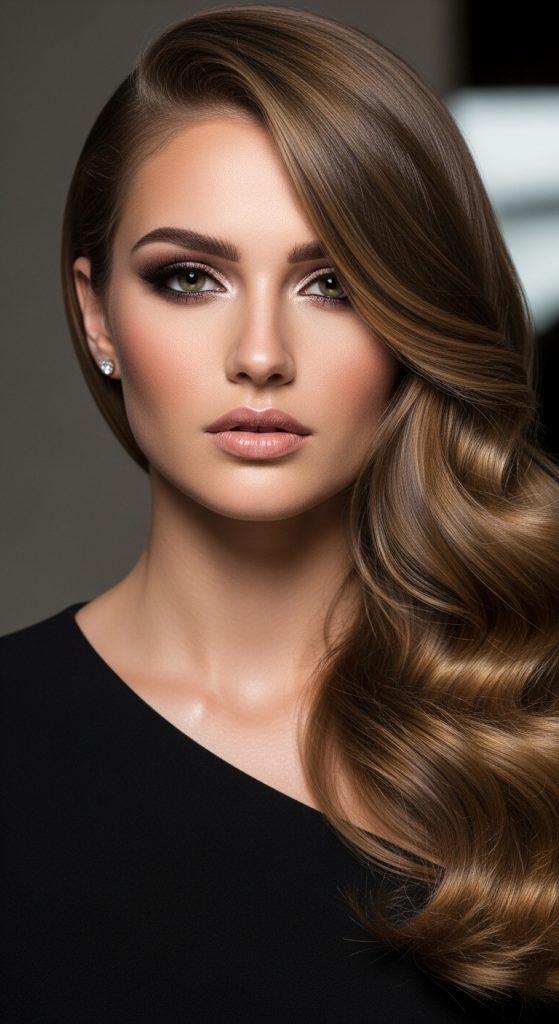
Idea 7: Side-Swept Waves for Elegant Balance
How to Create
Side-swept waves offer a refined and elegant hairstyle that emphasizes asymmetry and flow. This look is popular for formal occasions and aesthetic inspiration boards due to its graceful shape. The waves are directed to one side, creating a soft framing effect around the face. It adds sophistication while maintaining natural movement.
To create this style, first form soft or defined waves. Then choose a side part and gently sweep all hair to one side. Secure the back discreetly if needed. Use light styling tools to maintain direction. This method is simple yet impactful, making it suitable for beginner friendly styling with a polished finish.
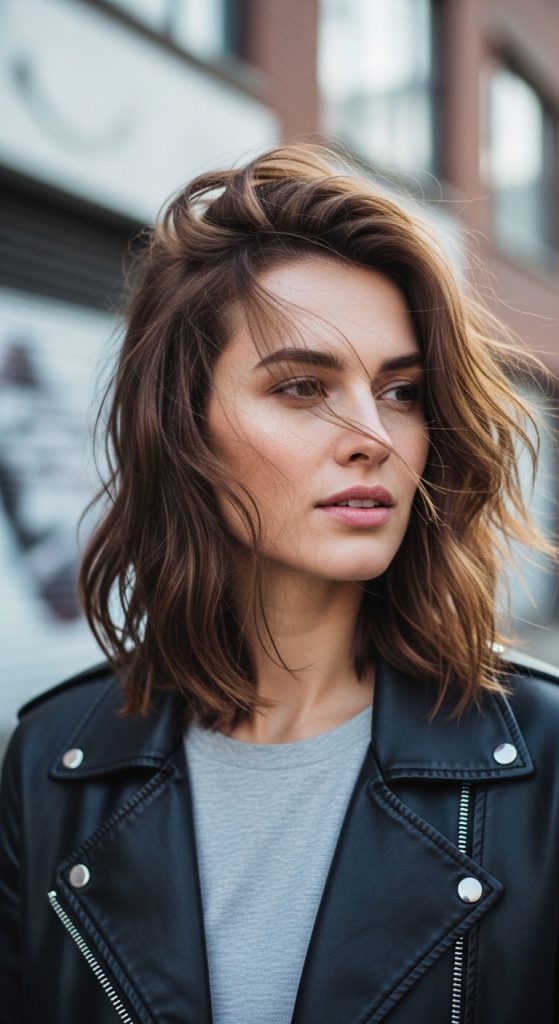
Idea 8: Messy Waves with Natural Texture
How to Create
Messy waves focus on creating an intentionally undone look that emphasizes natural texture. This style is highly trending in Pinterest ideas because it reflects effortless beauty. It is ideal for casual wear and supports modern minimalist style preferences. The waves are irregular, adding softness and volume without structured patterns.
To achieve messy waves, apply light styling mousse and loosely twist sections of hair. Use minimal heat or air dry naturally. Once set, separate the strands randomly using fingers. The goal is to avoid uniformity. This method is quick, easy, and beginner friendly, making it suitable for daily DIY styling routines.
Idea 9: Twisted Rope Waves for Defined Texture
Execution Process
Twisted rope waves are created using a twisting technique that forms spiral-like wave patterns. This hairstyle offers more definition than loose waves while remaining soft and natural. It is often used in creative projects because it adds visual interest and structure.
To create rope waves, divide hair into sections and twist each section tightly before securing. Allow the hair to set, then release and separate gently. The result is a textured wave pattern with enhanced shape. This method is simple and requires minimal materials, making it ideal for beginner friendly styling.

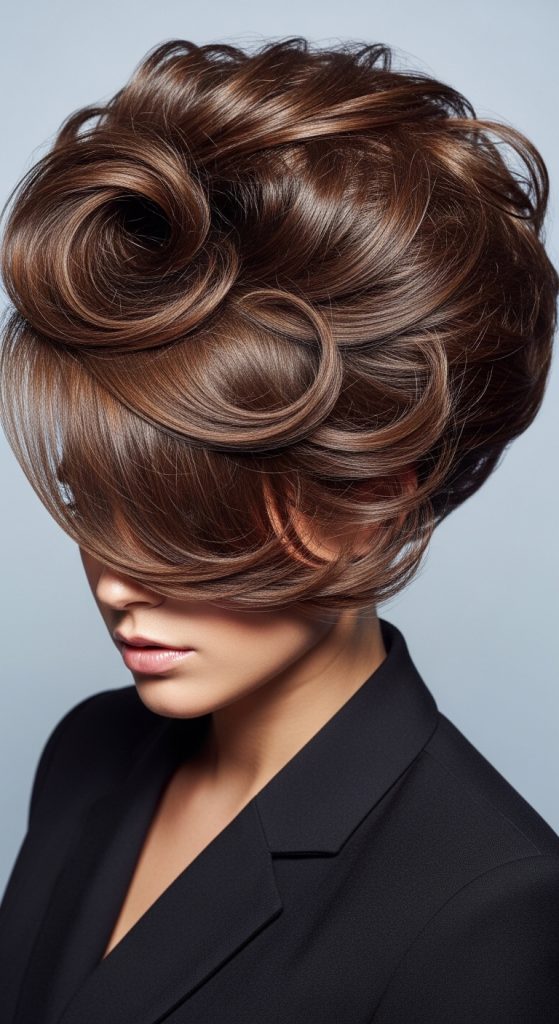
Idea 10: Voluminous Waves with Root Lift
Step-by-Step Guide
Voluminous waves focus on creating lift at the roots while maintaining soft waves throughout the length. This hairstyle enhances fullness and is ideal for individuals with flat or fine hair. It is widely used in aesthetic inspiration boards for its dramatic yet natural appearance.
To create volume, apply lightweight product at the roots and use a blow-drying technique or heatless lift method. Style the waves using curling or twisting techniques. Focus on lifting sections at the crown for added height. This approach delivers a salon-like finish while remaining accessible for home styling.
Common Beginner Mistakes and How to Avoid Them
Many beginners overuse styling products, which can weigh down waves and reduce natural movement. Another common mistake is failing to section hair properly, leading to uneven wave patterns. Using excessive heat without protection can also damage texture and reduce wave definition. Avoiding these issues ensures more consistent and healthier results.
Practical Tips for Better Results
Use lightweight products to maintain natural flow and avoid stiffness. Always detangle hair before styling to ensure smooth wave formation. Experiment with different section sizes to control wave tightness. Allow enough setting time for heatless methods to improve durability. These simple adjustments enhance overall styling quality and support long-lasting results.
Styling, Presentation, or Organization Ideas
Waves can be styled differently based on occasion. Loose waves work well for casual looks, while defined waves suit formal settings. Half-up styles add variety for daily wear. Hair accessories can be used subtly to enhance structure without overwhelming the design. Keeping styling tools organized also improves efficiency and supports consistent DIY routines.
Budget or Time Planning
Most wave hairstyles can be completed within 10 to 45 minutes depending on the method. Heatless styles require more time but less effort, making them suitable for overnight preparation. Budget requirements are minimal since most techniques rely on basic tools already available at home. This makes wave styling an accessible and efficient creative project.
Creative Expansion and Advanced Inspiration
Advanced variations include combining waves with braids, buns, or layered cuts for more complex designs. Experimenting with alternating wave directions can create unique textures. Incorporating partial coloring techniques can also enhance visual depth. These expansions allow for personalized styling and more creative expression while maintaining the core wave structure.