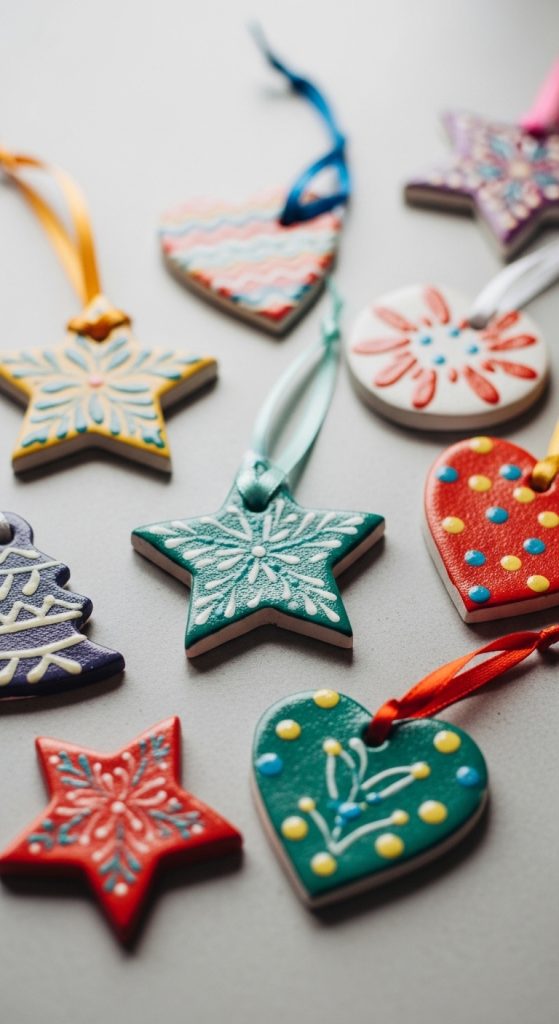
10 Air Dry Clay Art Projects
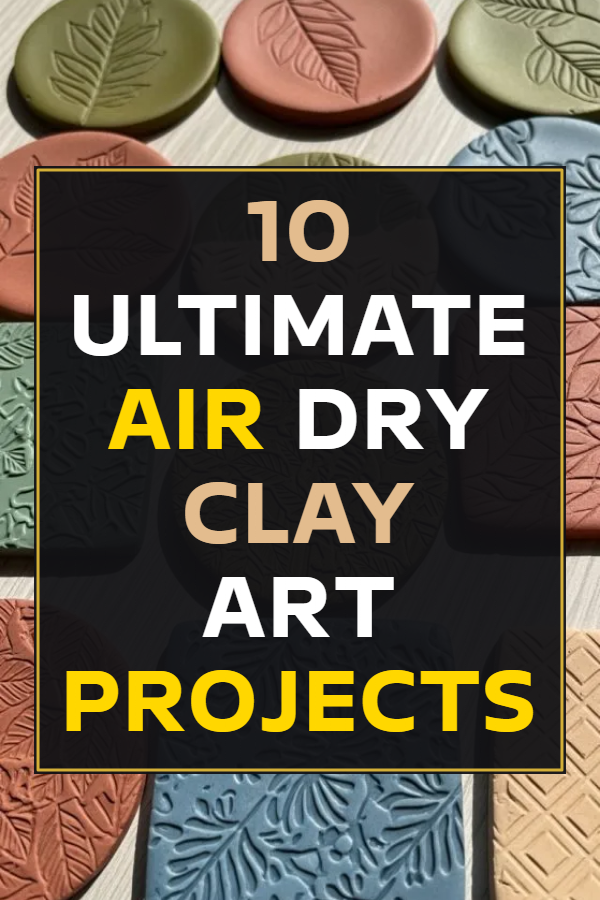
Air dry clay is a versatile, easy-to-use material that allows anyone to create beautiful art without the need for an oven or kiln. It is soft, pliable, and can be molded into a variety of shapes, making it perfect for beginners and experienced crafters alike. One of the biggest advantages of air dry clay is that it hardens naturally when exposed to air, making it accessible for home projects, school activities, and DIY gifts. In addition, it can be painted, varnished, or combined with other materials to create truly unique designs.
In this post, we will explore ten exciting air dry clay art projects that you can try at home. Each project comes with a list of required materials, preparation steps, and simple instructions. Whether you are looking to make decorative items, functional objects, or personalized gifts, these projects will inspire creativity and help you enjoy the tactile experience of working with clay. Let’s dive in and discover how air dry clay can transform simple ideas into stunning handmade creations.
1. Decorative Clay Bowls
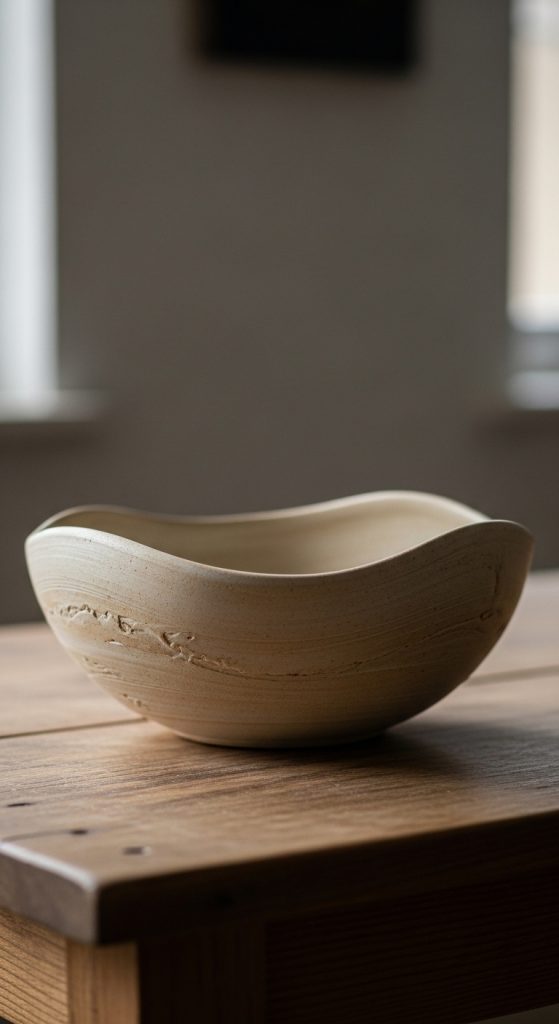
Creating small decorative bowls with air dry clay is a fun and practical project. You will need air dry clay, a rolling pin, a bowl to use as a mold, a craft knife, and sandpaper. First, knead the clay until it is soft and pliable. Roll it out to an even thickness of about 0.5 centimeters. Place the rolled clay over the bowl you want to use as a mold and gently press it to shape. Smooth the edges with your fingers or a small tool.
Allow the clay to dry for 24-48 hours, depending on the thickness. Once dry, lightly sand any rough edges for a polished finish. You can paint your bowls with acrylic paints or leave them natural for a minimalist look. Optional: seal with a clear varnish to make the surface more durable. These bowls can serve as jewelry holders, trinket dishes, or decorative accents for your home. The project is simple, requires minimal tools, and provides a creative way to practice shaping and smoothing clay.
2. Personalized Name Plaques
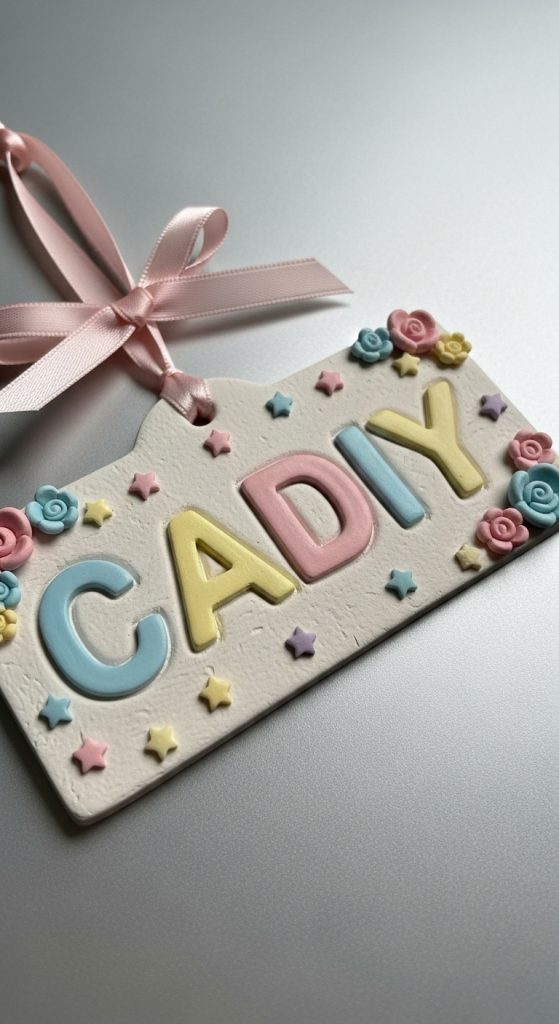
Personalized name plaques are a wonderful way to decorate bedrooms, doors, or gifts. For this project, you will need air dry clay, rolling pin, clay tools or toothpicks, acrylic paints, and a ribbon or string for hanging. Start by rolling out the clay to a thickness of 0.5 to 1 centimeter. Cut it into a rectangle, oval, or circular shape using a knife or cookie cutter.
Use clay tools or toothpicks to write names or initials onto the surface. You can also add decorative patterns, such as hearts, flowers, or stars. Make a small hole at the top if you plan to hang it. Allow the clay to dry completely, which usually takes 24-48 hours. After drying, paint the plaque with colors of your choice. Attach a ribbon or string to display your creation. This project is ideal for children, gift-making, or adding a personal touch to any space, and it encourages creativity with letters and decorative patterns.
3. Clay Jewelry Pieces
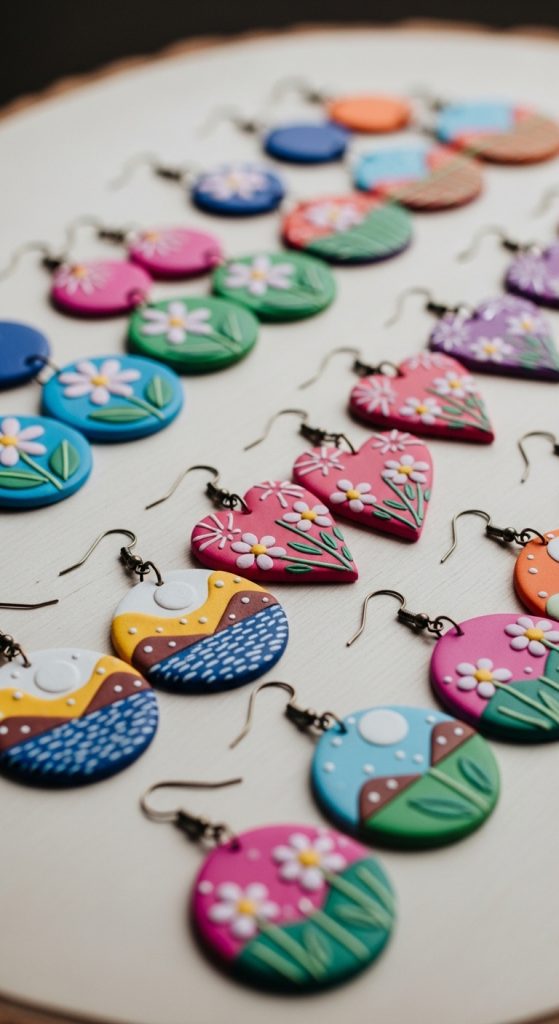
Air dry clay can be used to make unique earrings, pendants, and bracelets. Materials include air dry clay, rolling pin, clay cutters or small knives, toothpicks for details, jewelry findings, and acrylic paints. Begin by kneading and rolling the clay to a thin, even layer. Cut out shapes such as circles, hearts, or abstract forms for earrings or pendants. Use a toothpick to create holes for hooks or strings.
Let the pieces dry completely for 24 hours. Once dry, sand the edges lightly and paint them in your preferred colors. After the paint dries, attach earring hooks, jump rings, or cords. This project allows for endless customization with shapes, patterns, and colors. Making your own clay jewelry is not only creative but also results in wearable art. It is a beginner-friendly project that can be done in an afternoon and makes thoughtful handmade gifts.
4. Miniature Clay Planters
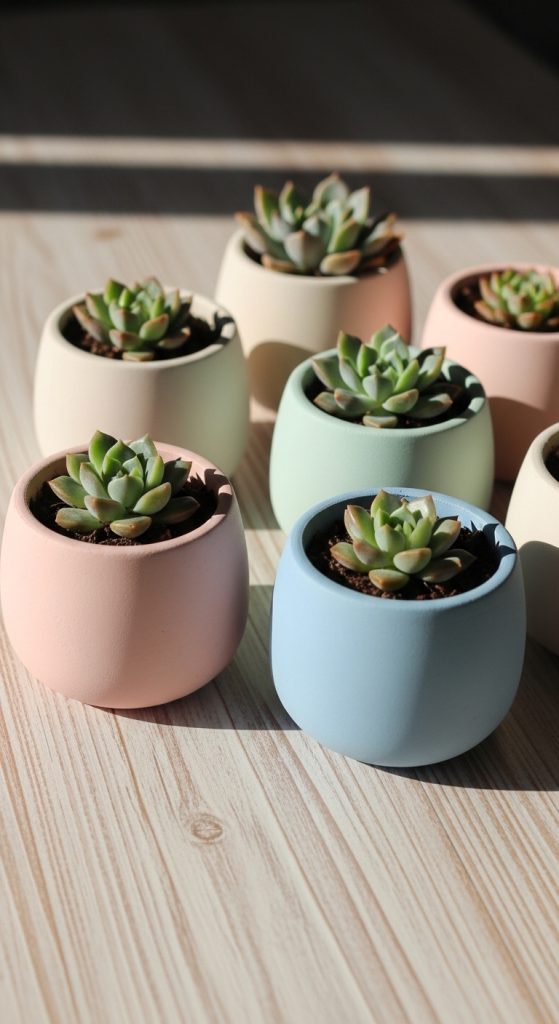
Miniature clay planters are perfect for small succulents or air plants. You will need air dry clay, rolling pin, a small bowl or cup as a mold, a craft knife, and sandpaper. Knead the clay until soft and roll it into a flat sheet. Press it around a small cup or bowl to form the planter shape. Smooth the edges with your fingers.
Allow the clay to air dry for 24-48 hours, depending on thickness. Once hardened, sand any rough edges. Paint or decorate your planter if desired. You can also leave the clay natural for a rustic look. Mini planters make excellent gifts, desk decor, or additions to your home garden. This project is simple, requires minimal tools, and teaches you basic shaping techniques while creating a functional piece.
5. Clay Coasters
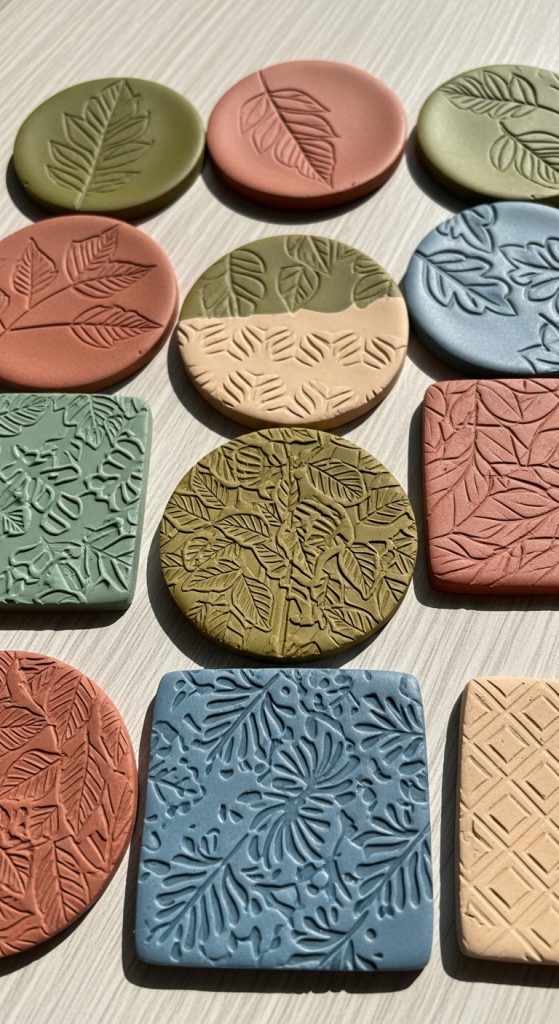
Making clay coasters is a practical and stylish way to protect your furniture. Materials include air dry clay, rolling pin, circular cookie cutters or a knife, and acrylic paints. Knead the clay thoroughly and roll it out to about 0.5 centimeters thickness. Cut out circles or squares for each coaster. You can add textures with stamps, leaves, or other patterns by gently pressing them into the clay.
Allow the coasters to dry for 24 hours or longer for thicker pieces. Once dry, sand the edges and paint with your chosen designs. Finish with a clear varnish for durability and water resistance. Clay coasters can be customized for holidays, gifts, or home decor. They are easy to make and allow for experimentation with colors and textures. This project is practical and decorative, combining creativity with functionality.
6. Clay Magnets
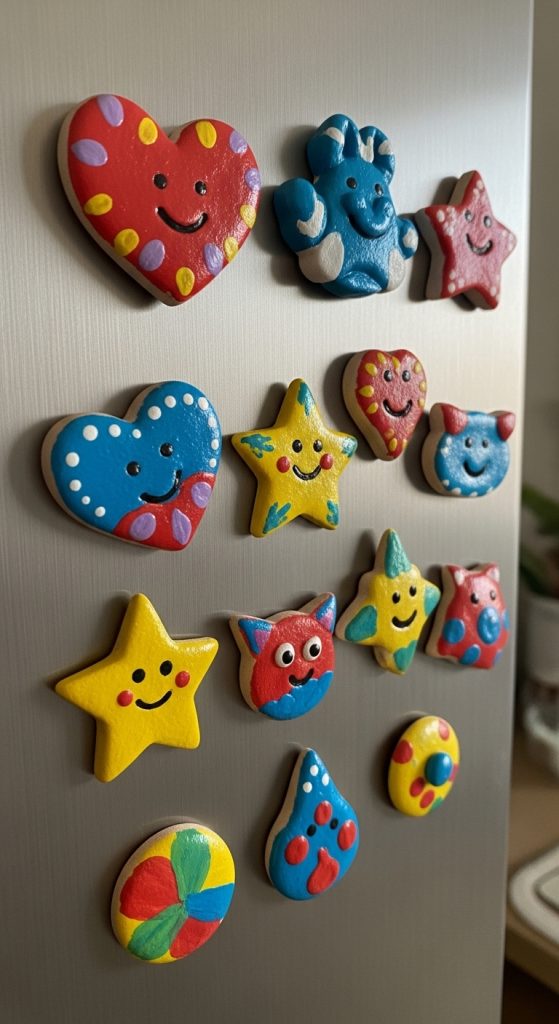
Clay magnets are simple and fun to make, ideal for beginners. You will need air dry clay, rolling pin, small cookie cutters, magnets, glue, and paint. Roll out the clay to a thin, even sheet. Cut out small shapes like stars, animals, or hearts using cutters or a knife. Let the shapes dry completely for 24 hours.
After drying, paint the clay shapes and allow the paint to dry. Attach small magnets to the back using strong craft glue. Your magnets are now ready to decorate refrigerators, lockers, or offices. This project encourages creativity with small shapes and designs, and it can be completed in an afternoon. Clay magnets are inexpensive, customizable, and great as gifts or personal keepsakes.
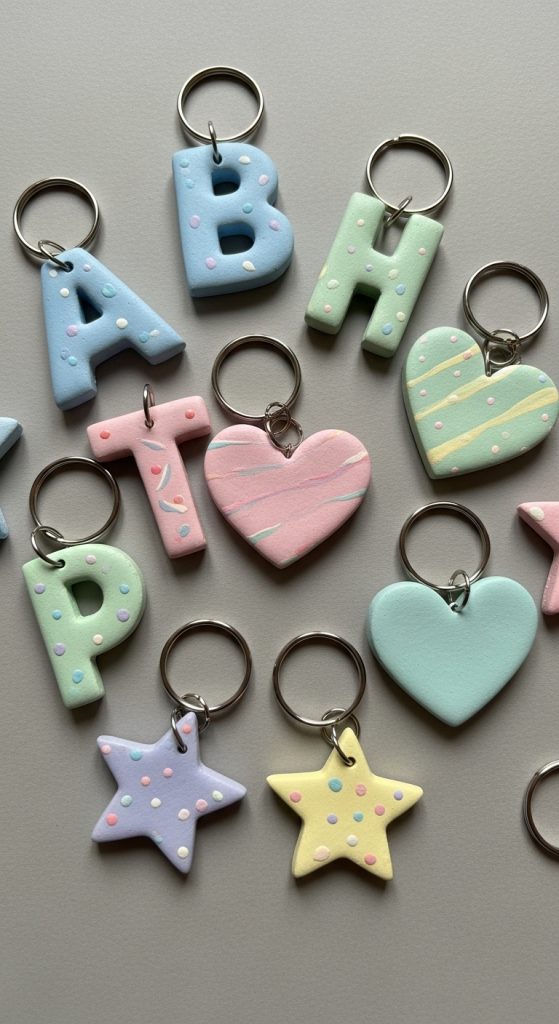
7. Clay Keychains
Clay keychains are a fun way to carry a piece of your creativity everywhere. You will need air dry clay, rolling pin, clay cutters or knife, acrylic paints, and key rings. Roll the clay into a flat sheet and cut out shapes for your keychain. Use a toothpick or skewer to make a small hole for the key ring.
Let the clay dry completely for 24-48 hours. Once hardened, sand the edges and paint your design. After the paint dries, attach the key ring through the hole. Clay keychains allow you to create personalized items such as letters, animals, or abstract shapes. This project is great for beginners, making gifts, or crafting small, portable art pieces.
8. Clay Candle Holders
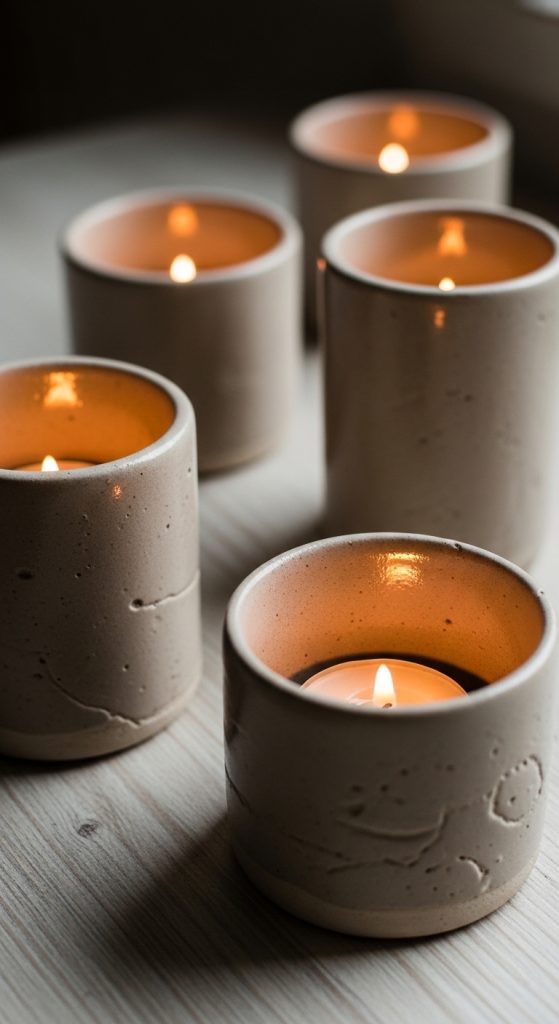
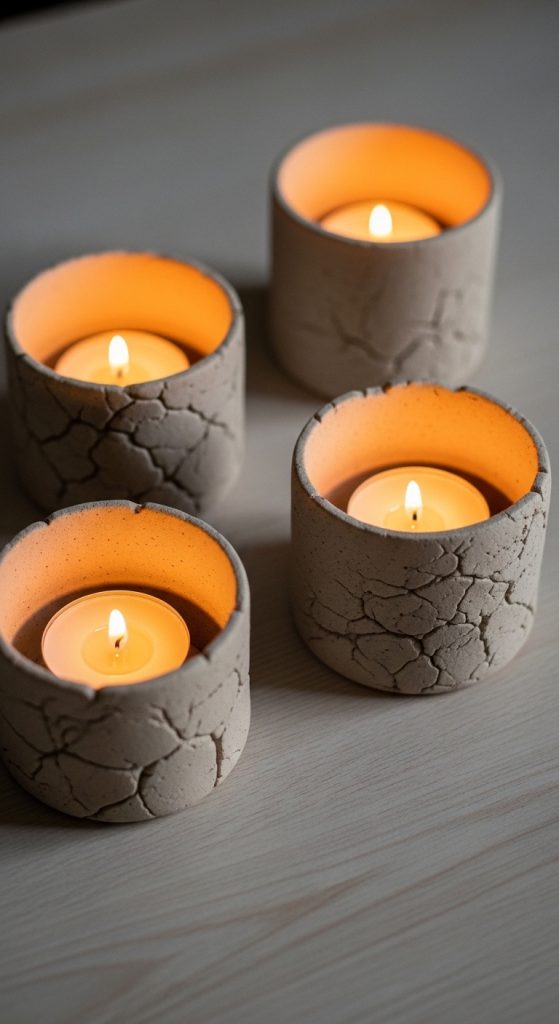
Creating clay candle holders adds a handmade touch to your home decor. Materials required include air dry clay, rolling pin, a small glass or cup as a mold, craft knife, and sandpaper. Knead the clay until smooth and roll it out to your desired thickness. Wrap the clay around the mold to form the holder and smooth the edges.
Let the holder dry completely, which may take 24-48 hours depending on thickness. Once dry, you can paint or decorate it with patterns, textures, or designs. Optional: seal with varnish for added protection. Place a small tea light or LED candle inside. Clay candle holders are functional and decorative, allowing creativity with textures, shapes, and colors while making a useful object.
9. Clay Wall Art
Air dry clay can be used to create unique wall art pieces. You will need air dry clay, rolling pin, craft knife, wooden board or canvas, paints, and glue. Roll out the clay to a thin sheet and cut out shapes like flowers, leaves, or abstract designs. Arrange the shapes on a wooden board or canvas to form a pattern.
Allow the clay to dry completely before painting. Once dry, use acrylic paints to add color and dimension. Glue the pieces to the board or canvas if needed. Clay wall art is highly customizable and can be adapted to any style or theme. This project is ideal for practicing sculpting, arranging designs, and creating personalized home decor that showcases your creativity.
10. Clay Ornaments
Clay ornaments are perfect for seasonal decorations or gifts. Materials include air dry clay, rolling pin, cookie cutters, paint, ribbon, and a toothpick. Roll the clay to a thickness of 0.5 centimeters and cut out shapes such as stars, hearts, or seasonal motifs. Use a toothpick to make a hole for hanging.
Let the ornaments dry completely, then paint and decorate them with patterns or designs. Once dry, thread a ribbon through the hole for hanging. Clay ornaments are simple to make and can be personalized for holidays, birthdays, or special occasions. This project is great for children, beginners, or anyone wanting to create meaningful, handmade decorations.